
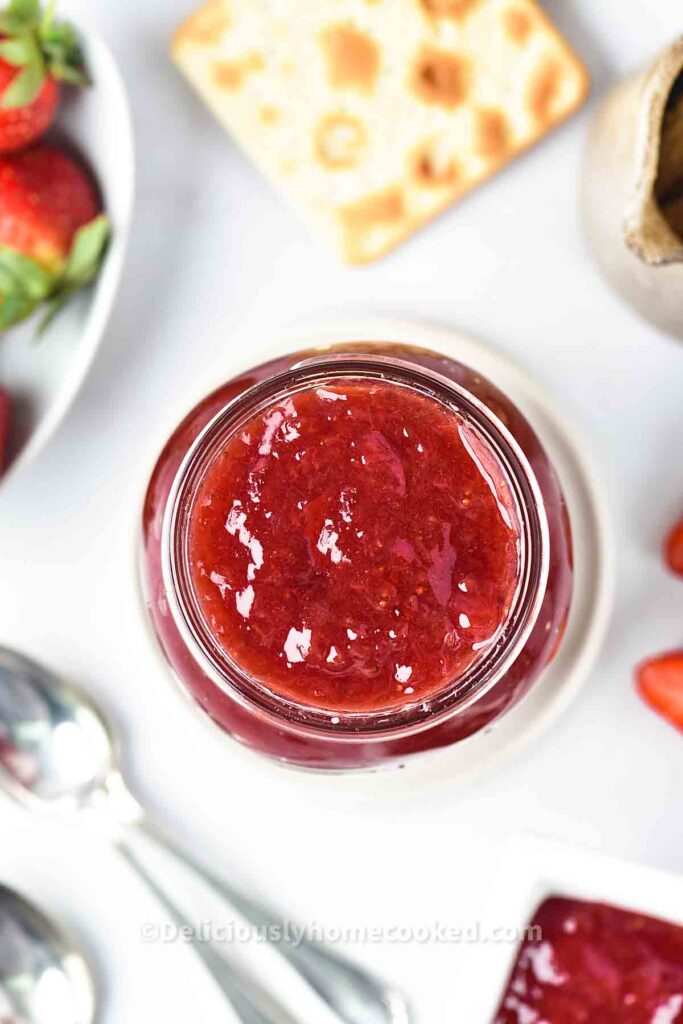
Homemade strawberry jam is a classic treat that brings out the best of fresh summer strawberries.
Whether spread on warm toast or spooned over pancakes, this sweet and slightly tangy jam is packed with natural fruit flavor.
Best of all, it’s made without pectin, keeping things simple while letting the strawberries shine.

Old fashioned strawberry jam recipe (no pectin)
This easy jam recipe has been a favorite in my home. With just three simple ingredients, it comes together effortlessly and always delivers that fresh, homemade taste.
If you’re like me and prefer a jam that thickens naturally while keeping that vibrant strawberry flavor, this recipe is one you’ll want to make again and again!
Looking for more fresh strawberry recipes? I’ve got you friend! Try strawberry carrots, homemade strawberry popsicles or strawberry cucumber salad next!

Recipe Highlights
- No pectin required: This jam thickens naturally, so there’s no need to use added pectin.
- Easy and beginner-friendly: Simple ingredients and a straightforward process make this an ideal recipe for anyone.
- Versatile and delicious: Perfect for spreading on toast, drizzling over ice cream, or even adding to yogurt.
- Can use fresh or frozen Strawberries: Works well with whatever strawberries you have on hand.

Ingredients
- Fresh Strawberries: Hulled and chopped, they provide the base for this jam. Use ripe, juicy strawberries for the best flavor.
- Granulated Sugar: Helps sweeten the jam while preserving it.
- Lemon Juice: Balances the sweetness and adds a slight tang to brighten the flavor.
* Need to print out this recipe? You’ll find a printable recipe card at the end of this post. Enjoy!

Recommended Tools for this recipe
The links below may contain affiliate links. As an Amazon associate and affiliate to other merchants, this website may earn from qualifying purchases. Please read our full disclosure.
- Sauce pan
- Chopping board
- Knife
How to make strawberry jam at home
Rinse and chop the strawberries into small pieces. In a medium saucepan, add the strawberries, sugar and lemon juice. Stir well and let the mixture sit for about 10 minutes to allow the sugar blend in strawberries to release sold juice.

Place the saucepan over medium heat. Stir frequently while bringing the mixture to a gentle boil.
Reduce the heat and simmer for 20-25 minutes, stirring occasionally. As the jam thickens, use a spoon to skim off any foam that forms on top.

Remove from heat and let the jam cool for a few minutes before transferring to clean sterilized jars. Seal tightly and store in the refrigerator.
The cold plate test
If you don’t have a thermometer, use the plate test to check if the jam is set.
- Chill the Plate: Place a saucer in the freezer when you start cooking the jam.
- Test Consistency: Once the jam has cooked, put a small spoonful on the chilled plate.
- Check for Wrinkles: Run your finger through the jam. If it wrinkles and holds its shape, it’s ready. If it’s still runny, continue simmering.
- Tilt Test: You can also tilt the plate. If the jam slides slowly, it’s set. If it runs quickly, it needs more cooking.
Use your strawberry jam for
Toast or Biscuits: Classic and simple, with a buttery base that complements the jam.
Pancakes or Waffles: Adds a sweet twist to breakfast favorites.
Yogurt or Oatmeal: Stir in a spoonful for extra flavor.
Cheese and Charcuterie Boards: Pairs wonderfully with creamy cheeses.
Homemade cookies: thumbprint cookies, heart jam cookies or Linzer cookies. (You can easily swap it out for lemon jam in these cookies.)
Cupcake filling, just like we did for our strawberry crunch cupcakes.

How to store
Refrigeration: Store the jam in sterilized glass jars in the refrigerator for up to 3 weeks.
To sterilize jar(s), wash them thoroughly with hot, soapy water. Rinse well, then place the jar(s) in a preheated oven at 275°F(130°C) for 20 minutes. Alternatively, you can boil the jars in a large pot of water for 10 minutes. Remove from water using a tong then turn it over to drain any remaining water.
Freezing: For longer storage, freeze the jam in airtight containers for up to 6 months. Thaw in the refrigerator before using.

Helpful Tips
- Use ripe strawberries. They are sweet and create a more flavorful jam.
- Prevent sticking and burning by stirring consistently while cooking.
- Taste the strawberries before using, if they are very sweet, consider reducing the sugar slightly. However do not go overboard with reducing it as the sugar is vital to the jam consistency and texture.
FAQs
Yes, frozen strawberries work well. Thaw them slightly and drain excess liquid before cooking.
Simmer the mixture a little longer, allowing the natural sugars to thicken as it cooks.
Yes, since this jam is made without pectin or added preservatives, refrigeration is essential to maintain freshness.
Perform the plate test by placing a spoonful on a chilled plate. If it wrinkles when pushed with your finger, it’s ready.

More homemade condiments.
- Honey butter
- Apple butter
- Pumpkin butter
- Check out all our homemade condiments.
Try this homemade strawberry jam recipe!
Making homemade strawberry jam without pectin is a simple way to enjoy the vibrant taste of fresh strawberries all year round.
Whether spread on breakfast favorites or used as a topping for desserts, this easy jam adds a touch of sweetness to any dish. Give this recipe a try and enjoy the rich, fruity flavor in every bite.

Thank you for visiting our virtual kitchen! If you found this recipe helpful, please leave a comment below and don’t forget to share this recipe with family and friends.
Looking for more tried and tested Home-cooked recipes? Sign up for our Deliciously Home Cooked Newsletter and Follow along on Facebook, Instagram, Pinterest and Tiktok!
Love videos? Subscribe to our YouTube channel.
Happy Cooking!
Love it? Pin it! Remember to follow @DeliciouslyHomeCooked on Pinterest for more recipes!

❤️ We’d love to hear from you!
Got questions? Please leave a comment.
Love this recipe? Please leave a comment.
Tried this recipe? Oh yes! Please leave a comment and a star 🌟🌟🌟🌟🌟rating too!

Strawberry Jam Recipe
Equipment
- Saucepan
- Chopping board
- Potato masher or immersion blender
Ingredients
- 1 lb strawberries (chopped)
- ¾ cup granulated sugar
- 1-2 tablespoons lemon juice (adjust to taste)
Instructions
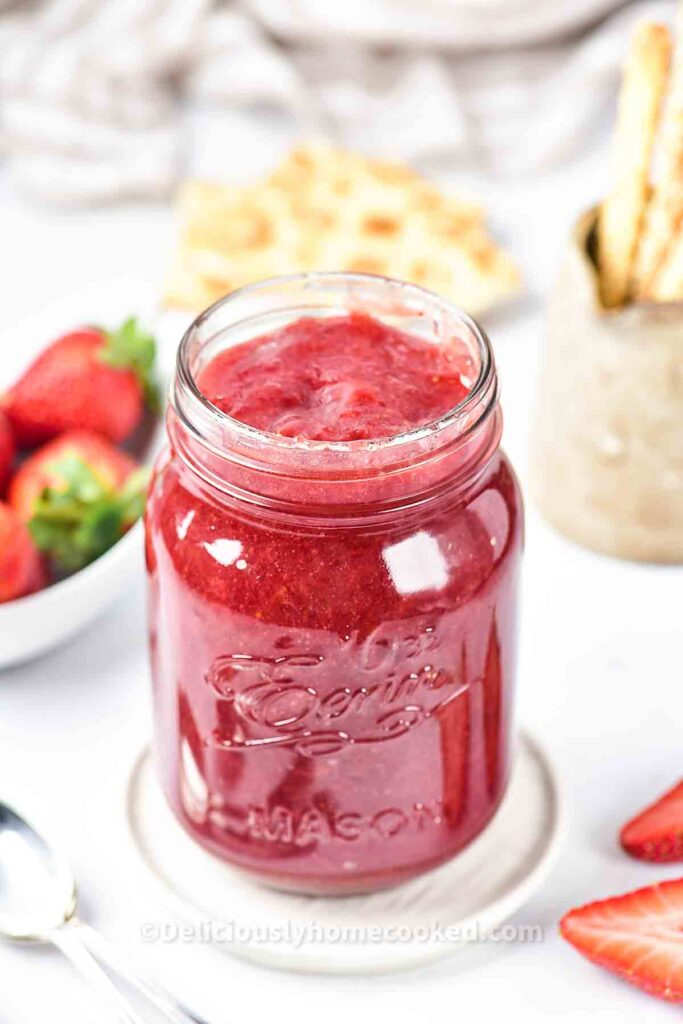
- Wash and chop the strawberries. If you prefer a smoother jam, mash the strawberries slightly with a fork or potato masher. You can also blend till smooth.
- In a medium saucepan, combine the strawberries, sugar, and lemon juice.
- Stir well and let the mixture sit for about 10 minutes to allow the sugar to dissolve and the juices to release.
- Place the saucepan over medium heat and bring the mixture to a gentle boil. Stir frequently to prevent sticking.
- Once boiling, reduce the heat to a simmer and continue cooking for 20-25 minutes. Stir occasionally until the jam thickens and reaches a spreadable consistency.
- As the jam thickens, use a spoon to skim off any foam that forms on top.
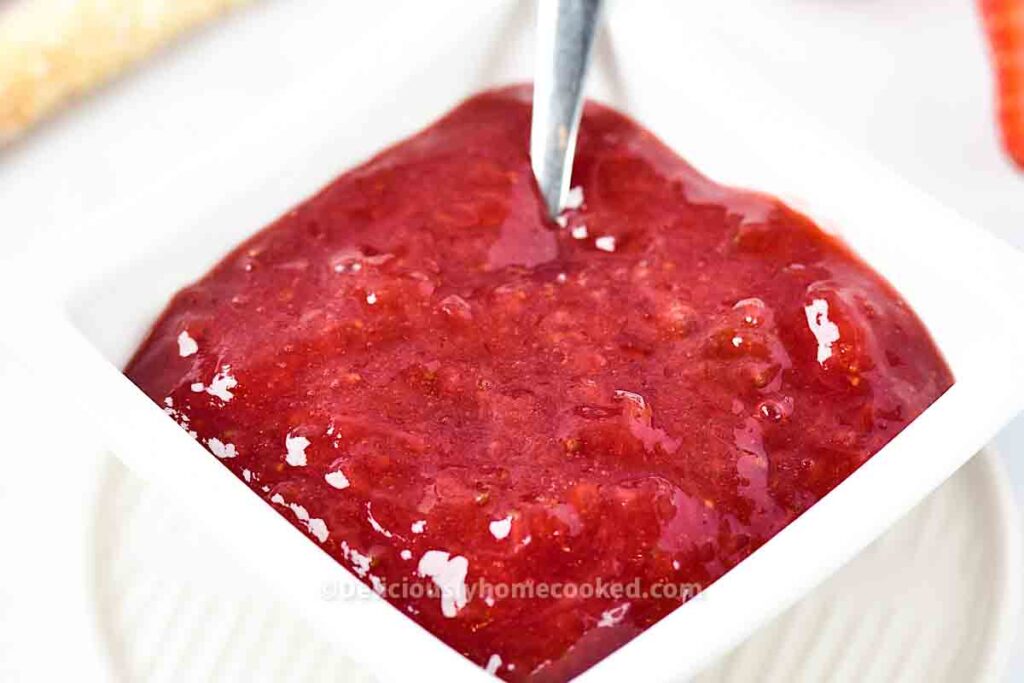
- For a chunkier texture, mash the strawberries slightly with a fork or potato masher when the strawberries are softened.
- To test if the jam is ready, place a small spoonful on a cold plate (that has been placed in the freezer for 15 to 20 mins)Run your finger through it. If the jam wrinkles and holds its shape, it’s done. If it’s still runny, simmer for a few more minutes and test again.
- Remove the saucepan from heat and allow the jam to cool slightly.
- Transfer the jam to a clean jar and let it cool completely before sealing. Store in the refrigerator for up to 2 weeks.
Notes
- If you prefer a less sweet jam, reduce the sugar slightly, but keep in mind that sugar helps with preservation.
- The lemon juice adds acidity, which balances the sweetness and helps the jam set properly.
- For longer storage, consider freezing the jam in an airtight container for up to 3 months.
- For a smoother consistency, use an immersion blender or mash the strawberries thoroughly before cooking.
- If you have a candy thermometer you can use it to test for doneness instead of the cold plate test. Temperature should be 220°F (105°C)
Nutrition


Turned out amazing!
Hi CJ,
Happy to read from you. Thank you for your feedback, it means a lot to us.
-Chichi